How I Transformed My Messy Kitchen into an Organized Oasis
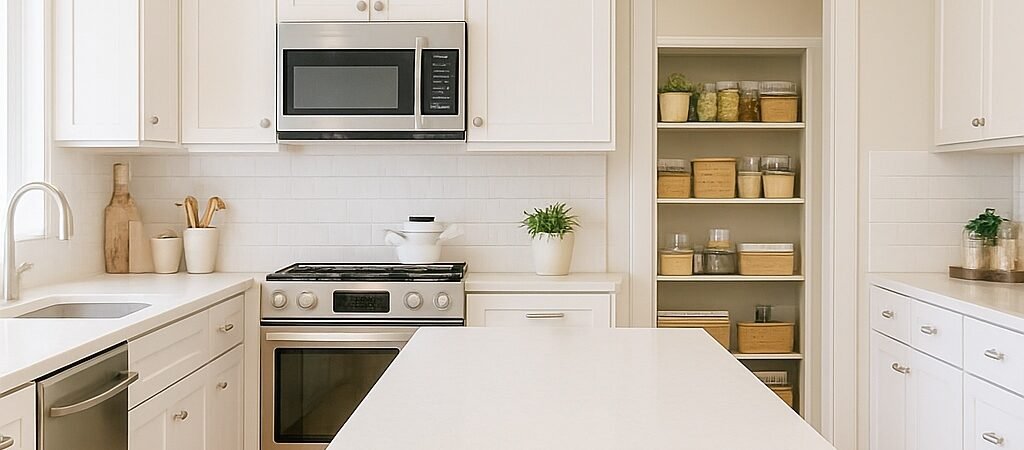
I have a confession: my kitchen organization used to be a total disaster. Every evening, I’d rummage through cluttered cabinets for a matching lid while pots boiled over. My countertops were buried under mail, appliances, and random gadgets. If this sounds familiar, you’re not alone – one survey even found the kitchen is among the most clutter-prone spaces in our homes. No wonder I felt stressed cooking dinner! In fact, over half of people say messy kitchen drawers and counters cause them daily stress. Something had to change, so I embarked on a mission to transform my kitchen organization and turn my cluttered kitchen into a model of order.
Fast forward to today: my once-messy kitchen is now an organized oasis. I can finally find the paprika without tearing apart the pantry, and cooking is fun again. In this post, I’ll share exactly how I did it – in a casual, first-person account – so you can too.
As an Amazon Associate, I earn from qualifying purchases. This website is a participant in the Amazon Services LLC Associates Program, an affiliate advertising program designed to provide a means for sites to earn advertising fees by advertising and linking to Amazon.com and other affiliate links
Step 1: Declutter Your Kitchen and Make a Plan
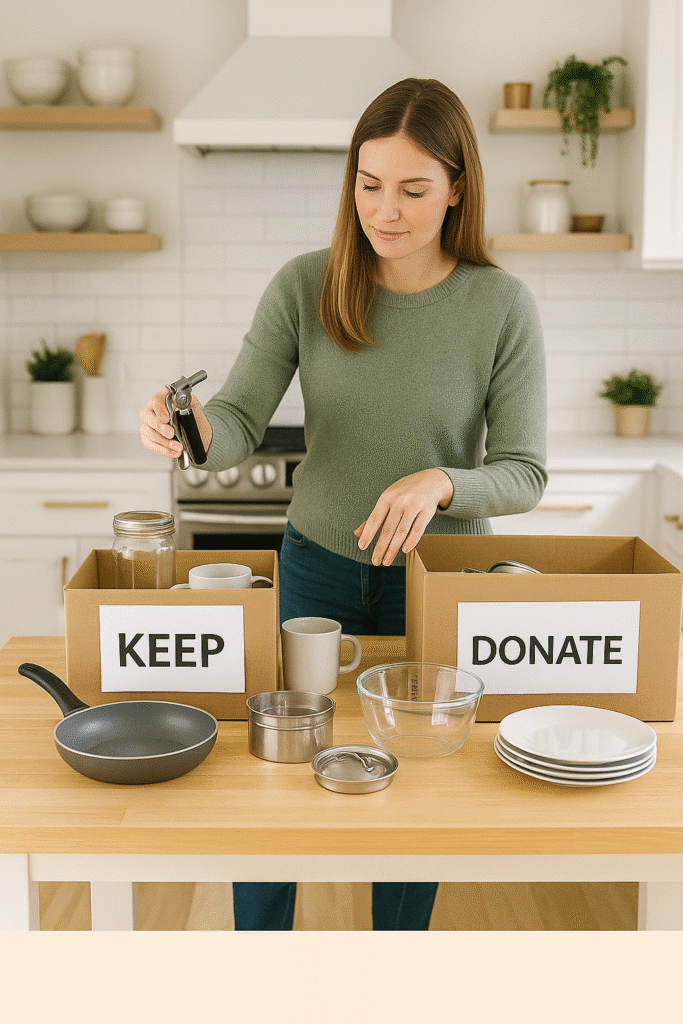
The first step in any successful kitchen organization project is a serious declutter. I pulled everything out of my cabinets, drawers, and pantry to take stock. I found gadgets I’d never used, expired spices, and duplicate tools taking up precious space.
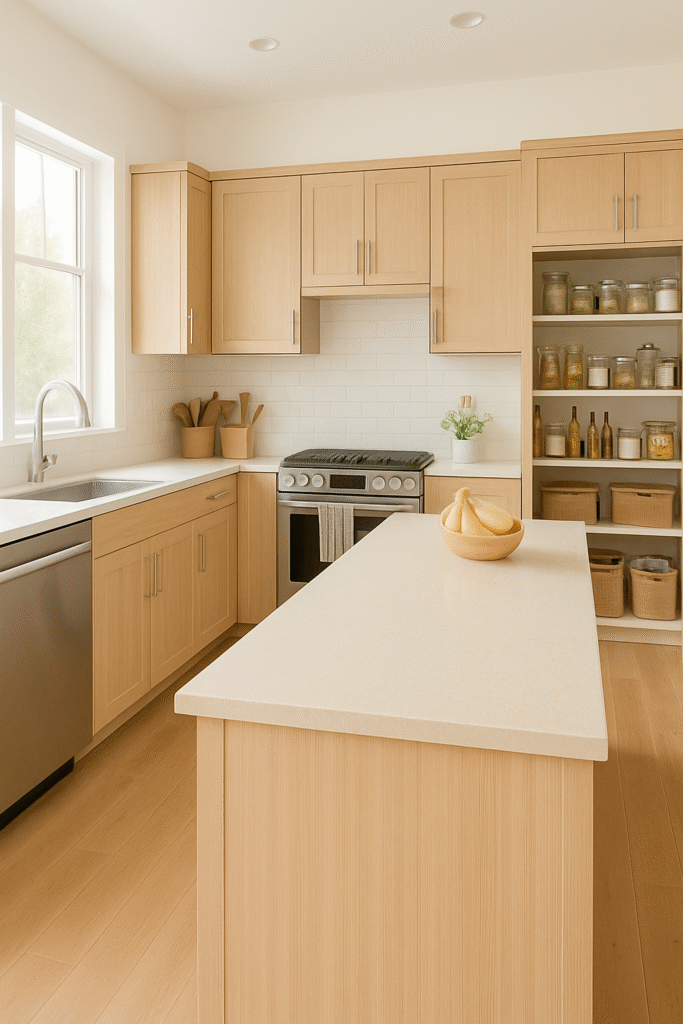
Once I pared down to the essentials, I made a plan. I created “zones” for baking, coffee/tea, and breakfast to make daily life smoother.
Quick tip: Keep a “maybe” box for items you’re unsure about. If you don’t touch it in three months, let it go.
Step 2: Organize the Pantry (From Chaos to Order)
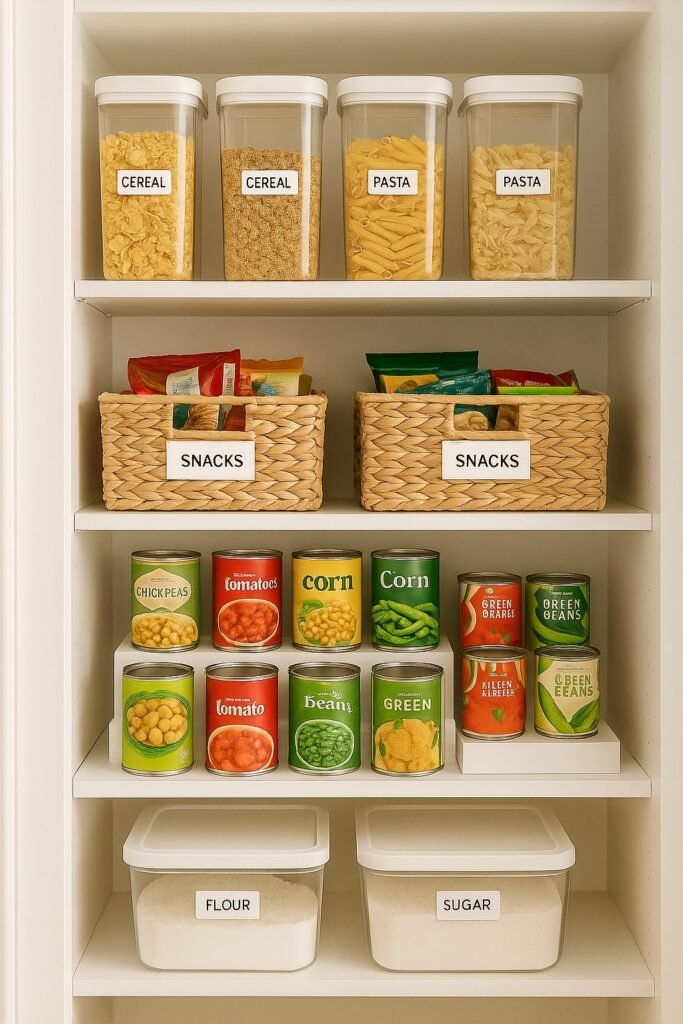
My pantry was the wild west of pasta boxes and half-empty snack bags. To tame it, I transferred dry goods into clear airtight containers [Affiliate Link]. Then, I grouped snacks, baking supplies, and breakfast foods into bins. A Can Storage set [Affiliate Link] made canned goods easy to see.
A Lazy Susan [Affiliate Link:] became my secret weapon for sauces and oils, and labeling everything made it foolproof. Pantry dishes organization is one of the most rewarding parts of kitchen organization – now even my kids know where the cereal goes!
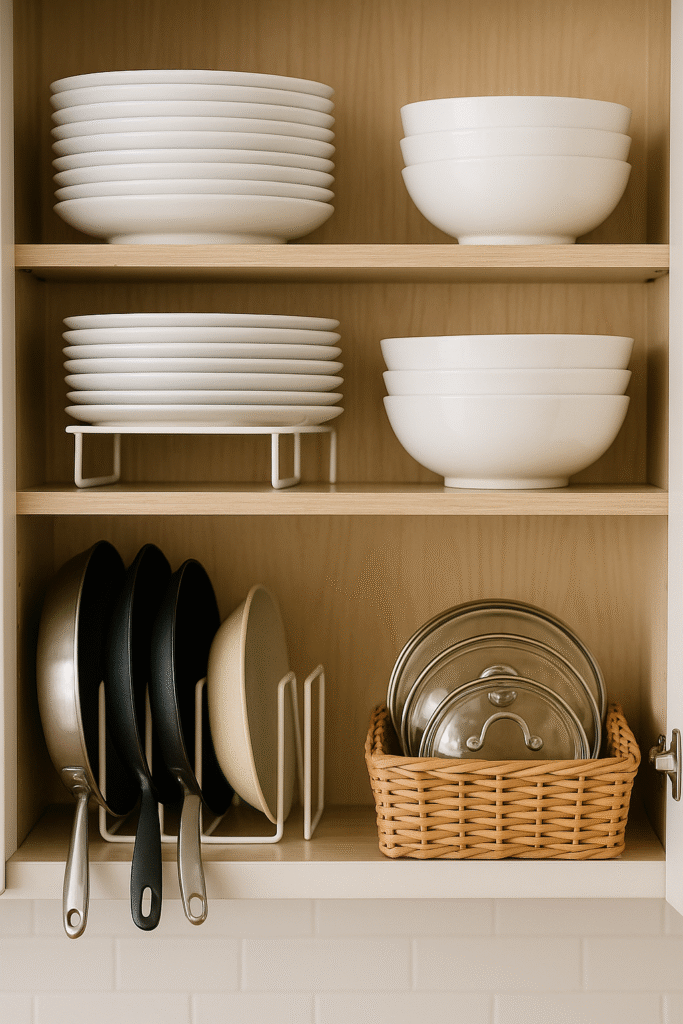
Step 3: Optimize Cabinets for Dishes & Cookware
Next up: cabinets. I added an adjustable shelf riser [Affiliate Link] so bowls could live under plates. A vertical rack [Affiliate Link: Pan and lid organizer] keeps my pans upright, while cutting boards and trays now stand in a divider rack.
For Tupperware, I store lids in a shallow bin, separate from stacked containers – no more avalanches!
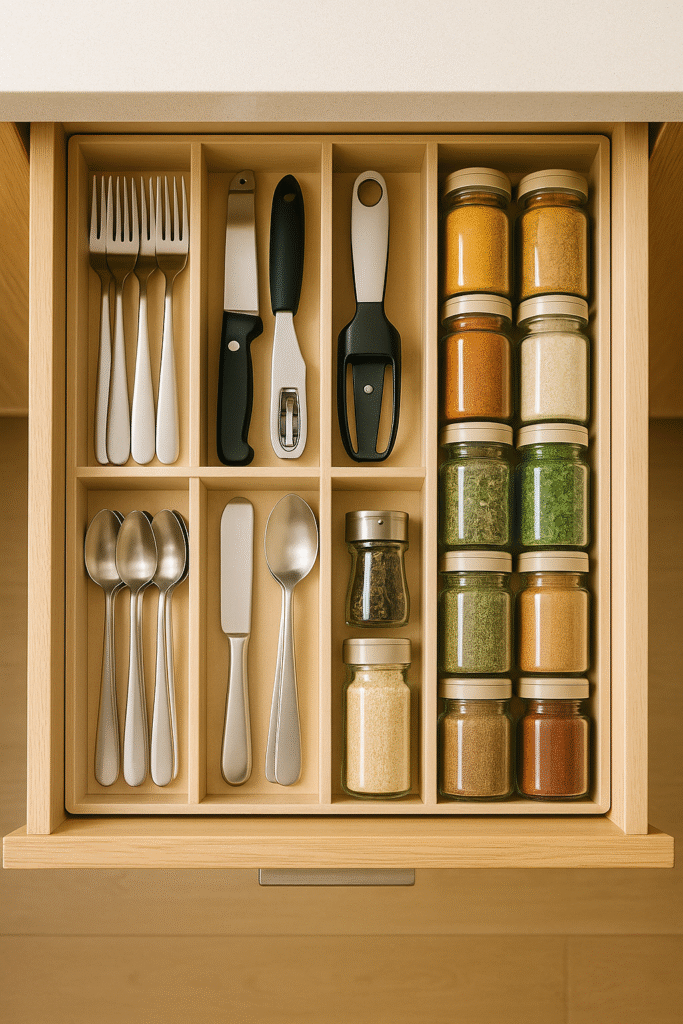
Step 4: Tidy Drawers and Utensils
Drawers are the hidden heroes of kitchen organization. An expandable drawer tray [Affiliate Link: Utensil organizer] sorted forks, knives, and spoons. The spice drawer got a makeover with labels on jar lids for easy scanning.
Even my junk drawer has order now – I used little baskets for batteries, rubber bands, and takeout menus.
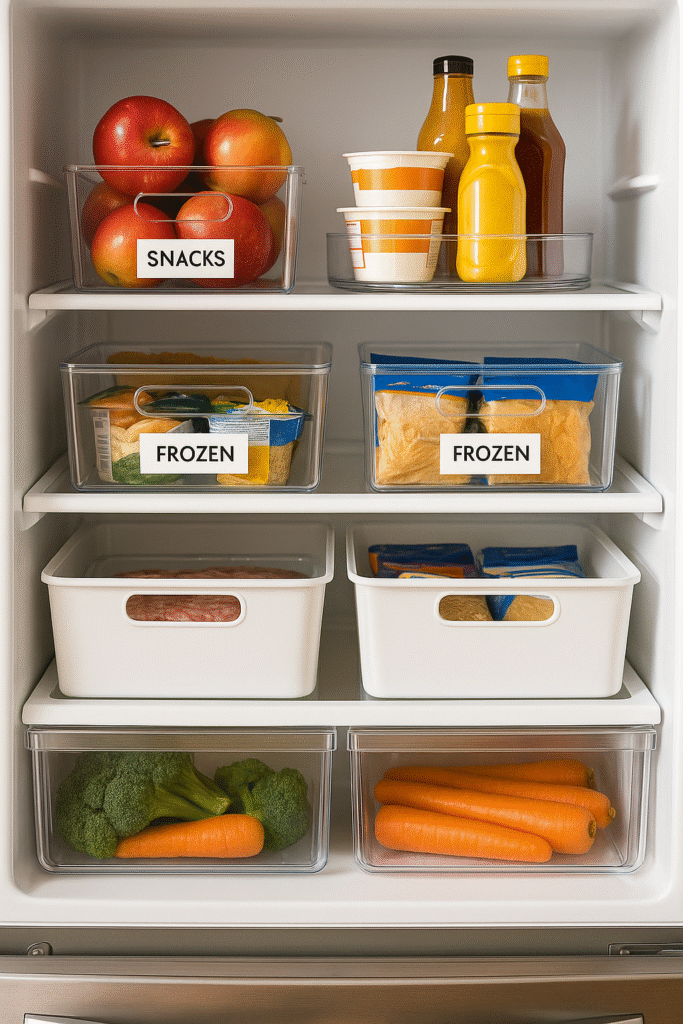
Step 5: Don’t Forget the Fridge & Freezer
I realized that kitchen organization doesn’t stop at cabinets. I used clear bins [Affiliate Link] in my fridge to group snacks, cheeses, and drinks. A Lazy Susan holds condiments, while a labeled “Eat Me First” bin reduces waste.
The freezer got stackable bins and a whiteboard list of what’s inside. No more mystery meat surprises!
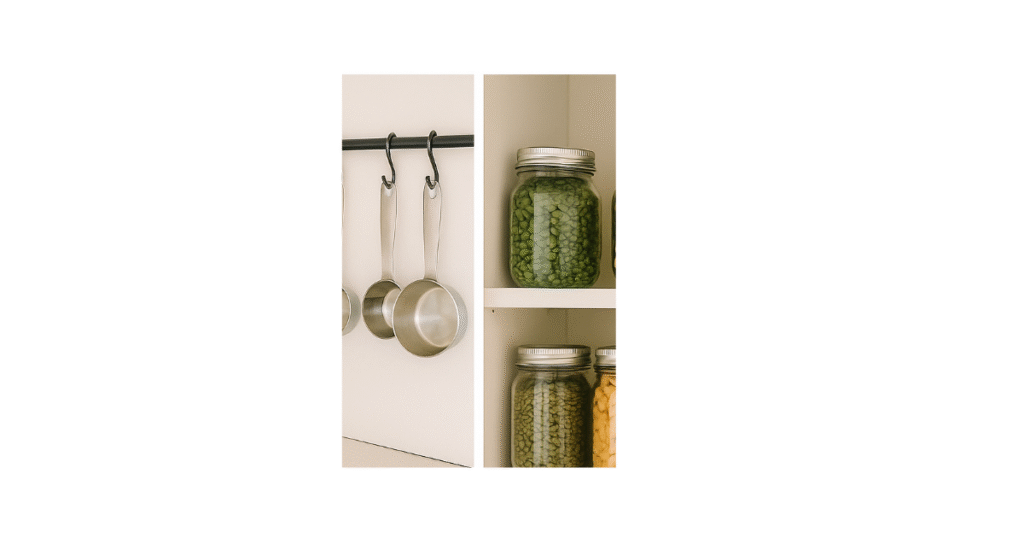
Step 6: DIY Kitchen Storage Hacks
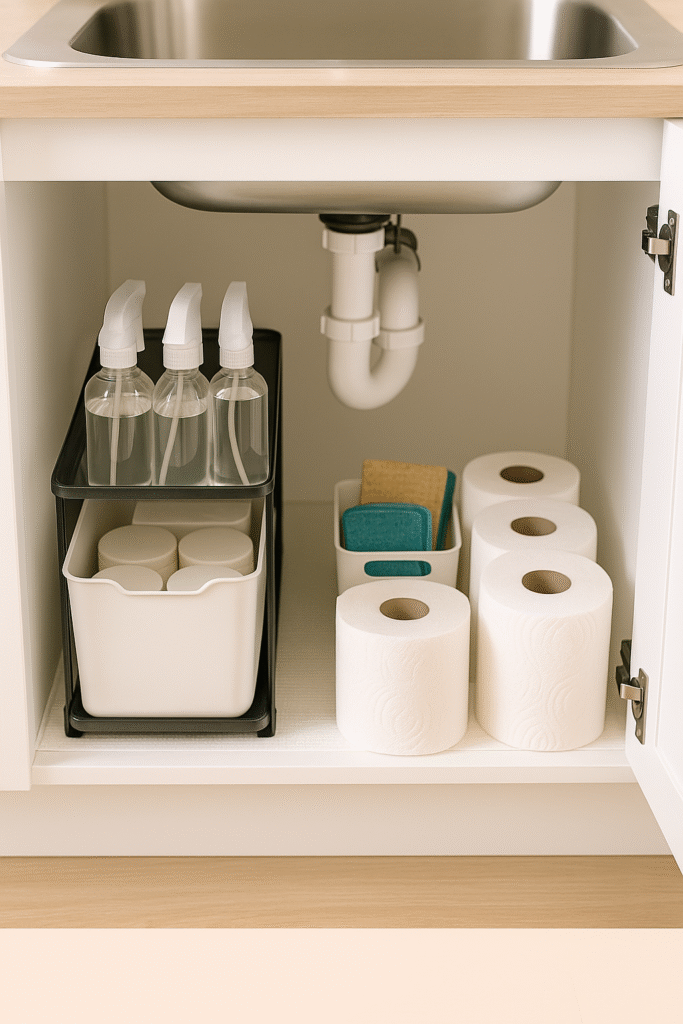
Not everything needs to be bought. I hung spray bottles under the sink using a tension rod [Affiliate Link]. A magazine holder became a vertical spot for foil and cutting boards.
Command hooks [Affiliate Link] hold measuring spoons inside cabinet doors, while mason jars corral dry beans and spices. DIY kitchen storage is proof that small tweaks can make a big impact.
Step 7: Under-Sink and Hidden Spaces
Speaking of under the sink – it’s prime real estate! I added a pull-out bin [Affiliate Link] for cleaning supplies and a small caddy for sponges.
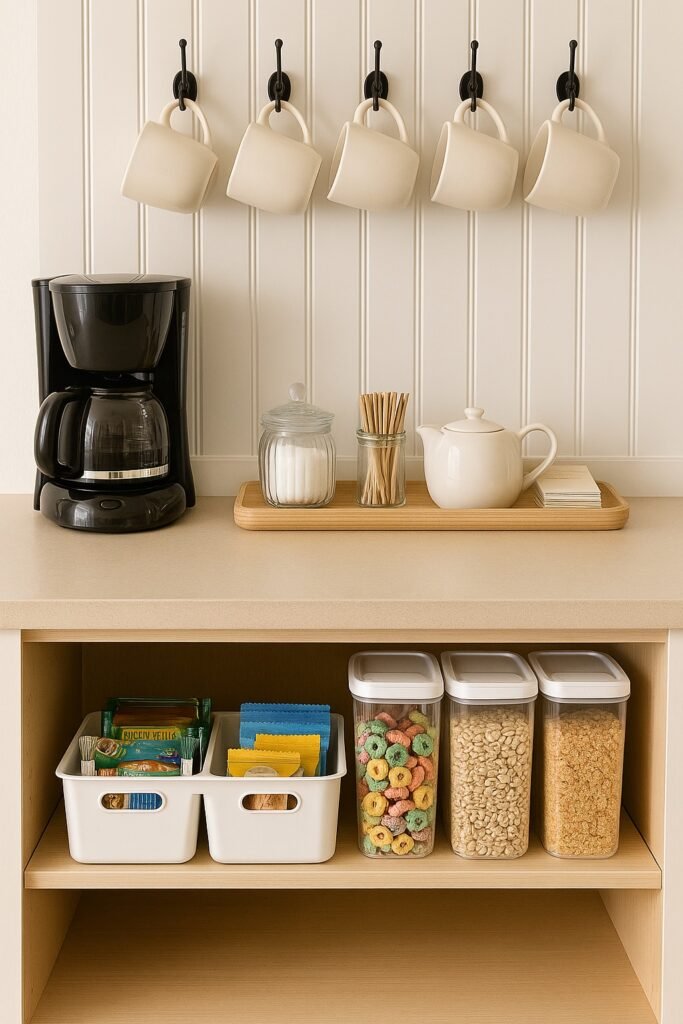
Step 8: Create Inspo Zones (Coffee & Breakfast)
I carved out a coffee station with mugs, sugar, and tea in one cabinet. A small tray holds everything together, making mornings calmer. For the kids, a cereal/snack shelf is stocked at their level so they can help themselves. Kitchen inspo organization doesn’t have to be over the top – even small tweaks create calm.
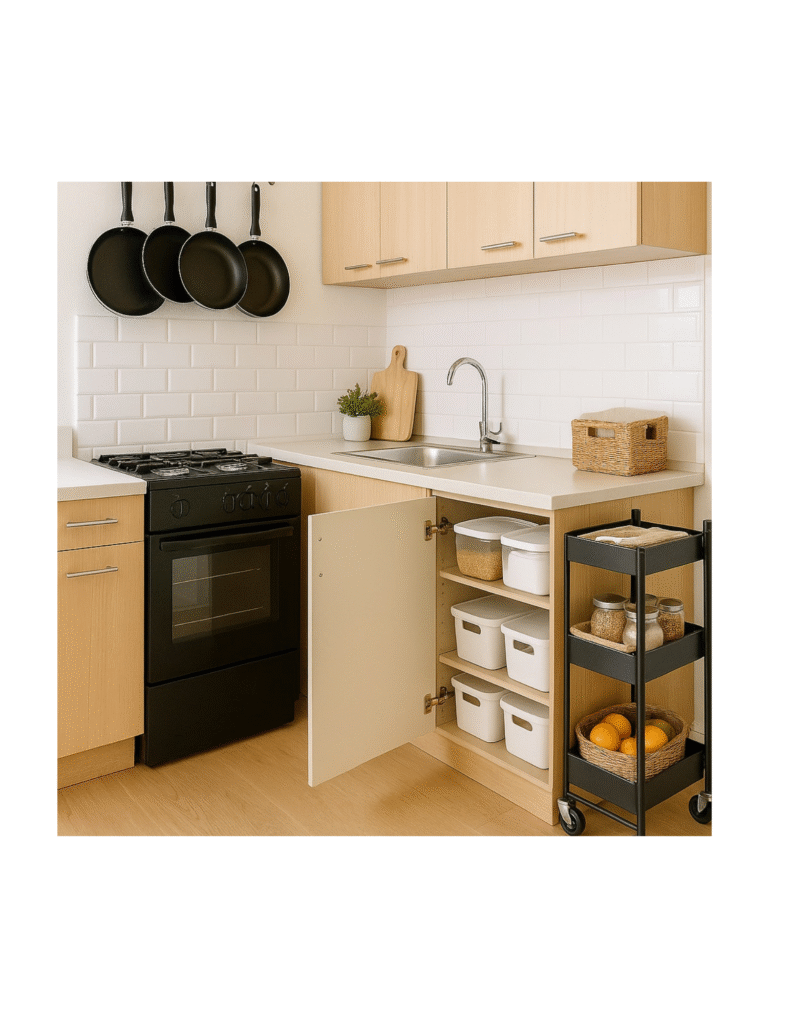
Step 9: Small Kitchen Solutions
If you’re in a tight space, think vertical. Wall-mounted racks, stackable bins, and rolling carts can effectively double your storage space. Even the inside of cabinet doors can hold spices or wraps.
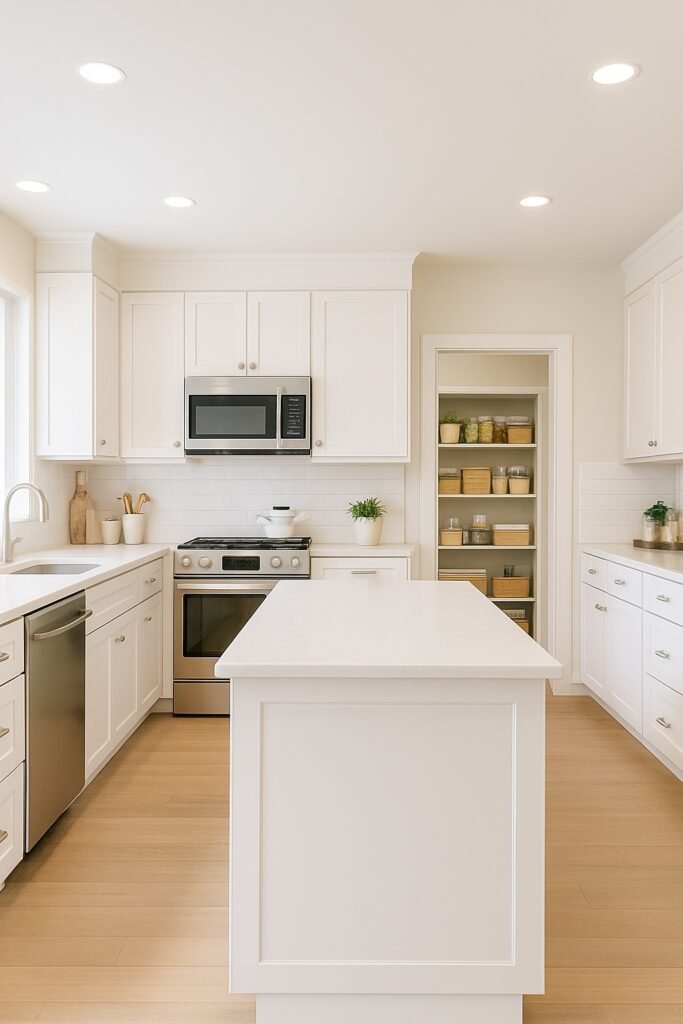
Step 10: Whole-Kitchen Calm
An organized kitchen isn’t just prettier – it’s less stressful. I do a 5-minute reset every evening, wiping counters and putting everything back in its zone. With these hacks, your kitchen organization can go from overwhelming to effortless.
FAQ
Q: How do I start organizing my kitchen?
Start by decluttering, then group items by activity (baking, breakfast, coffee station). Use bins and labels to give everything a home.
Q: What are cheap DIY ideas?
Tension rods, magazine holders, mason jars, and adhesive hooks can transform storage on a budget.
Q: How do I organize a small kitchen?
Use vertical storage, wall racks, rolling carts, and inside-door solutions to maximize every inch.
Lisa