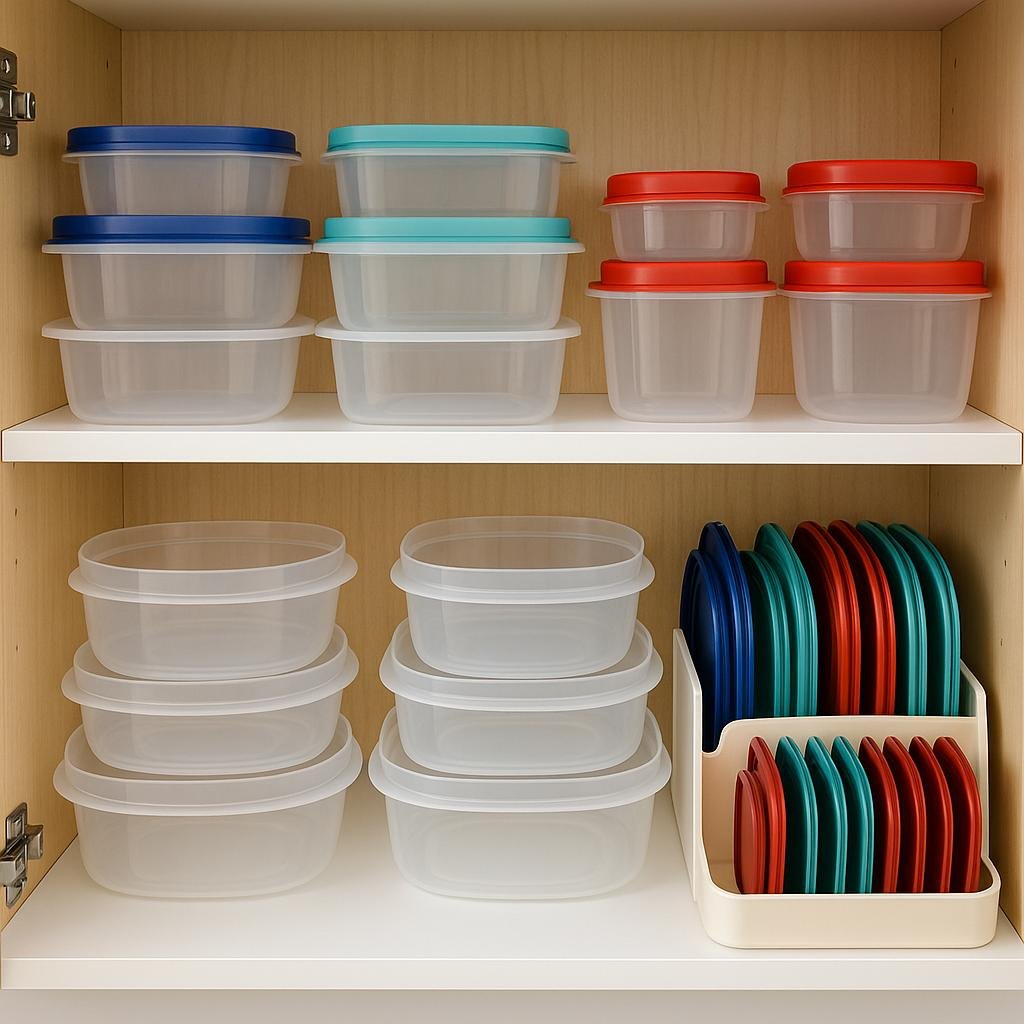
Pinterest Pin Description: A visually pleasing, organized Tupperware cabinet with food containers nested by size and matching lids filed upright in an orderly fashion
Tackling the Tupperware Avalanche
Hi there! I’m a busy mom, and for the longest time, my food storage container cabinet was a total disaster. Every time I opened it, I risked a Tupperware avalanche – containers and lids would spill out like a plastic waterfall. It felt like searching for a needle in a haystack (or the right lid in a mountain of mismatched pieces). I’m not alone either; one survey found that container lids are in messy kitchens.
I finally decided that enough was enough – I was done wasting time and getting stressed by this daily nuisance. Over time, I found simple Tupperware organizing solutions that truly worked for me. Now my Tupperware (and its many knock-off cousins) are neatly corralled. I can quickly grab the exact container I need without 500 lids crashing to the floor. 🙌 In this post, I’ll share how I organized my Tupperware in six smart steps. These tips are super practical for busy moms, and I’ll even mention a few game-changing products that helped me match every container with its lid. Let’s transform your Tupperware storage from chaos to calm!
Oh! By the way, as an Amazon Associate, I earn from qualifying purchases. This website is a participant in the Amazon Services LLC Associates Program, an affiliate advertising program designed to provide a means for sites to earn advertising fees by advertising and linking to Amazon.com and other affiliate links.
1. Declutter and Purge the Cabinet First 🔪
The first step in my Tupperware organization journey was a good declutter session. I pulled every single container and lid out of the cabinet and spread them on the kitchen floor. The sight was… overwhelming, to say the least! But this step is crucial. It’s like sorting socks – you need to find the pairs and toss the lonely singles. I paired up every lid with its container, and what didn’t have a match went into a discard pile. I was shocked to find cracked and discolored containers I hadn’t used in years, plus orphan lids with no partners.
Here’s what I did to declutter my Tupperware stash:
- Match up what you can: Group containers with their corresponding lids. This helps you see how many complete sets you actually have.
- Toss the misfits: Recycle or throw out any warped or cracked containers, and any lidless bottoms or bottomless lids. If it doesn’t have a mate or it’s damaged, it’s just clutter.
- Be real about how many you need: I had about 30 containers but really only used maybe 10-15 regularly. I decided to keep the most versatile sizes and a few specialty ones, and donate or recycle the rest.
By the end, I slimmed down my collection to the essentials. This Tupperware purge felt amazing – like a weight off my kitchen’s shoulders! (Fun fact: one study noted that getting rid of clutter could eliminate 40% of housework in the average home. Less stuff = less to wash, dry, and put away. Yes, please!)
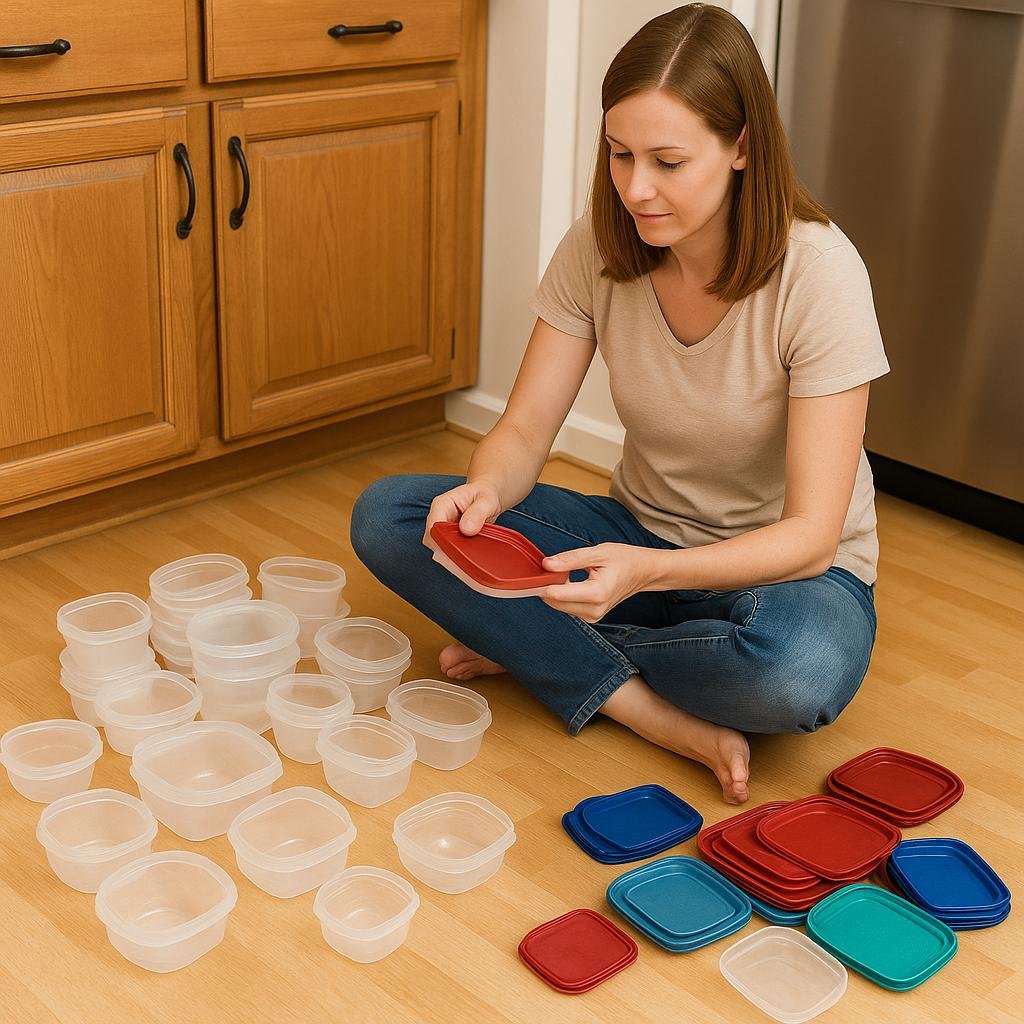
Pinterest Pin Description: A woman decluttering a large pile of Tupperware containers and lids on her kitchen floor, matching each lid to a container and discarding the extras
2. Nest Containers by Size (No More Wasted Space)
Once I had only the keepers left, I immediately noticed how much easier they were to work with. My next strategy was to nest containers inside each other, by size and shape. By nesting all my round containers together in one stack and all the rectangular ones in another, I suddenly freed up tons of space. No more teetering tower of mismatched shapes; now I had two neat stacks of bases.
Crucially, I stopped storing containers with their lids snapped on. I used to think keeping the lid on each container would ensure I never lost the match. But in reality, that was wasting so much space (and lids still got misplaced somehow). Instead, store bases and lids separately – it’s a bit counter-intuitive, but it’s the key to a tidy system. When you nest all the container bottoms together, you can stack 10 pieces in the space that 2 or 3 used to take. It’s like magic. I tell my friends that organizing Tupperware is like playing Tetris: group similar shapes so they fit together tightly. Suddenly, my cabinet had room to breathe.
Quick tip: If you have a mix of shapes, try to keep similar shapes in their zone. I designate one stack for circular containers and one for rectangular/square ones. That way, I know exactly where to go depending on the leftovers I’m packing. This simple sorting makes my life so much easier.
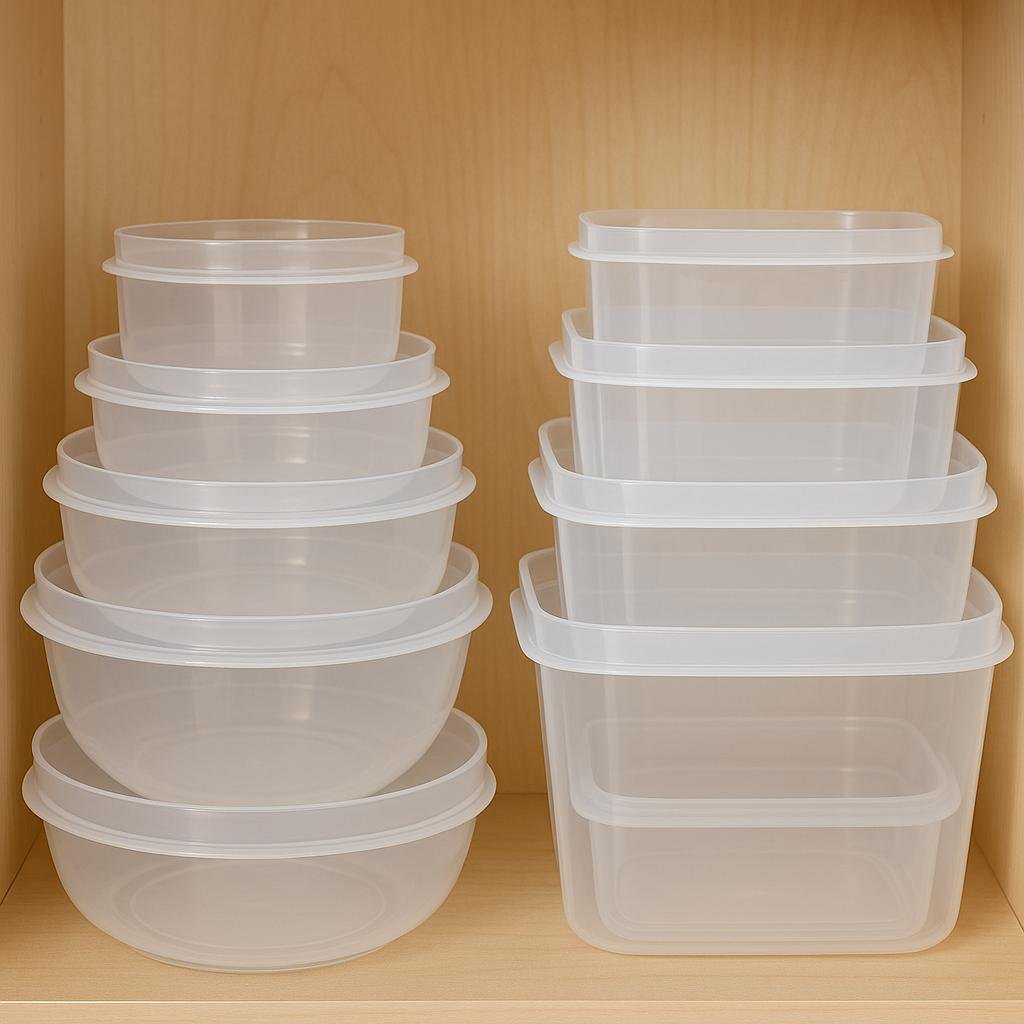
Pinterest Pin Description: A space-saving arrangement of food storage containers nested by size and shape, showing how stacking smaller containers into larger ones clears up cabinet space
3. File Your Lids Upright in a Bin (Game-Changer!)
Now, let’s talk LIDS – the troublemakers. Lids used to be my arch-nemesis: they were always sliding around, hiding under pots, or stuck at the very back of the cabinet. The breakthrough for me was when I stopped trying to keep each lid attached to its container during storage. Instead, I gathered all the lids in one bin and stored them upright like file folders. What a game-changer!
I grabbed a simple plastic basket I already had (you could use a shoebox or any open container) and placed it on the shelf next to my stacks of nested containers. Then I sorted the lids by size and stood them up in the bin. Larger lids (for my big bowls) went in the back, medium lids in the middle, and small lids in front. Now, when I need a lid, I just flip through the “file” and quickly spot the size I need. No more shuffling through an unruly pile that slides all over.
If you don’t have a spare bin, you can get creative: a dish drying rack or a pot lid holder can double as a Tupperware lid organizer. Even a sturdy magazine file turned on its side can hold lids upright. The goal is to store lids vertically so they stay visible and easy to grab. This was the single biggest improvement in my Tupperware organizing system. I went from dreading the mad lid hunt to finding the right top in seconds. It felt like upgrading from a messy junk drawer to a neat filing cabinet – so satisfying!
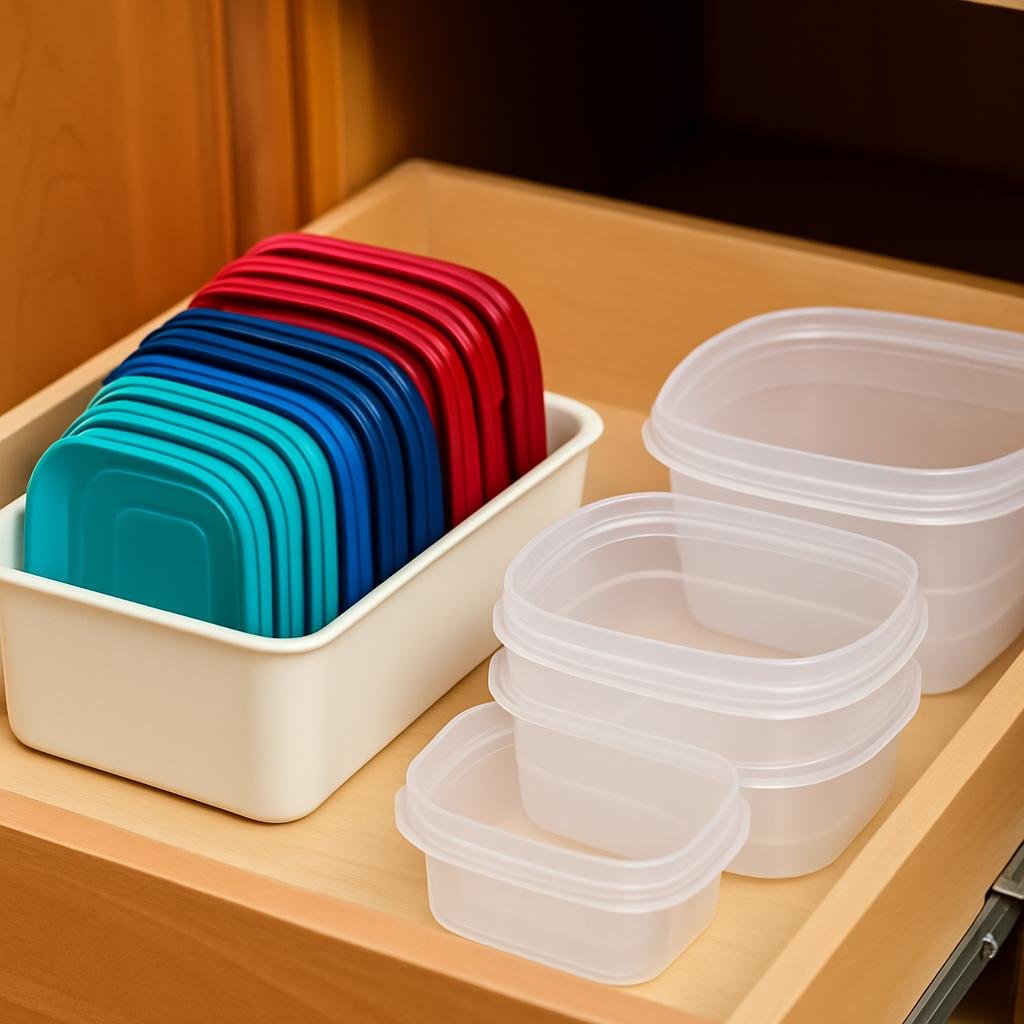
Pinterest Pin Description: An organized collection of Tupperware lids stored vertically in a box, arranged by size, demonstrating a clever hack to keep container lids tidy and easy to find
4. Try a Dedicated Lid Organizer (My Favorite Product!)
While my DIY lid bin worked great, I eventually treated myself to a dedicated lid organizer – and I’m a little in love with it. 😉 I found an awesome adjustable lid organizer on Amazon (insert affiliate link here) that is basically a rack with adjustable dividers specifically for food container lids. It’s like a shoe rack, but for lids of all sizes. Now my lids have their own “home” custom-fit to my collection.
The one I got (feel free to check it out if you’re curious) has movable dividers so I can adjust the slots to fit wide square lids or narrow round lids as needed. This made my cabinet look extra tidy and Pinterest-worthy. Every lid stands upright, separated, and none of them slide around or get lost under a bowl. I even labeled the sections for large, medium, and small lids (yes, I embraced my inner organizing nerd!).
If you’re serious about taming the lid chaos, investing in a lid organizer is so worth it. There are a few popular ones on the market, like the YouCopia StoraLid organizer (an Amazon favorite) which a friend of mine swears by. These organizers aren’t expensive, but they make a huge difference. It’s one of those little kitchen gadgets I didn’t know I needed until I tried it. Now I open my Tupperware cabinet and actually smile at how orderly it looks — no more runaway lids!
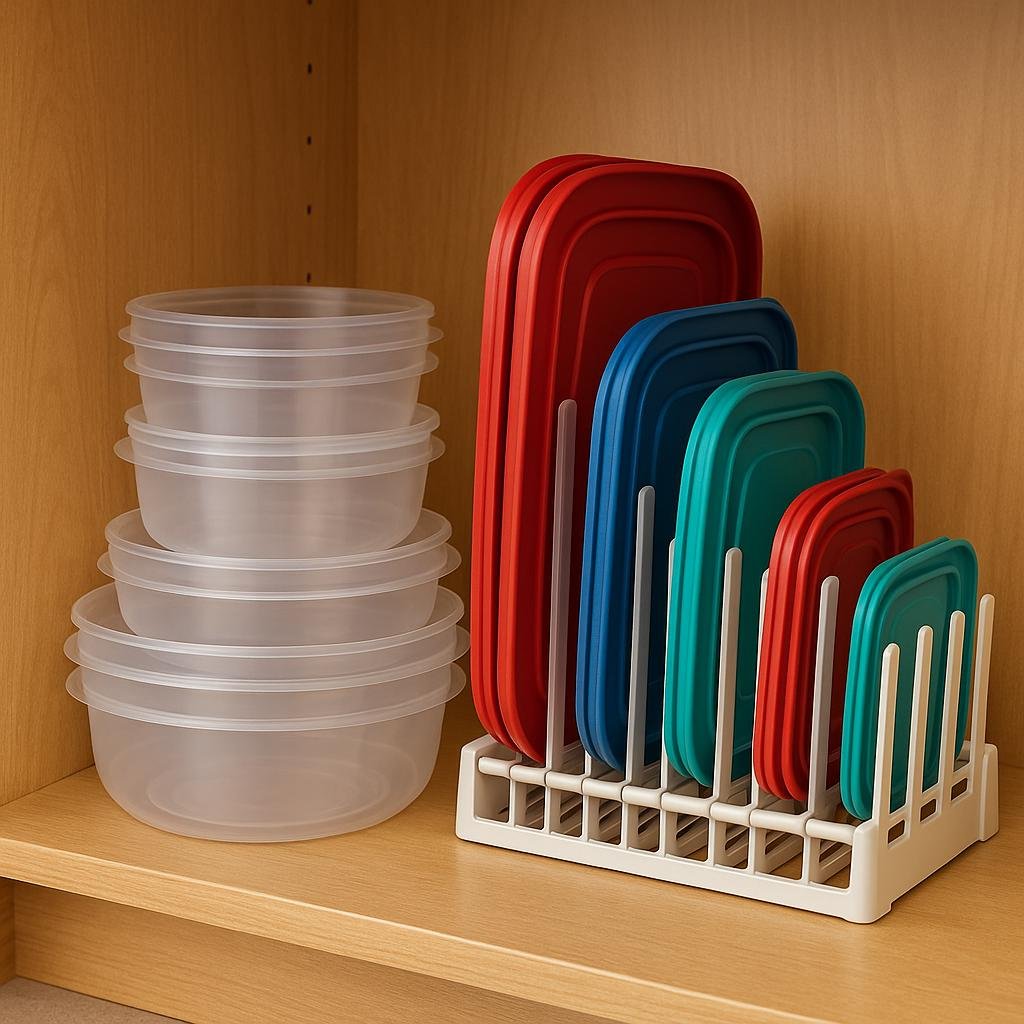
Pinterest Pin Description: A close-up of a tidy kitchen cabinet with a specialized lid organizing rack neatly separating and holding container lids of different sizes in a row
5. Invest in Matching Containers or a Nesting Set
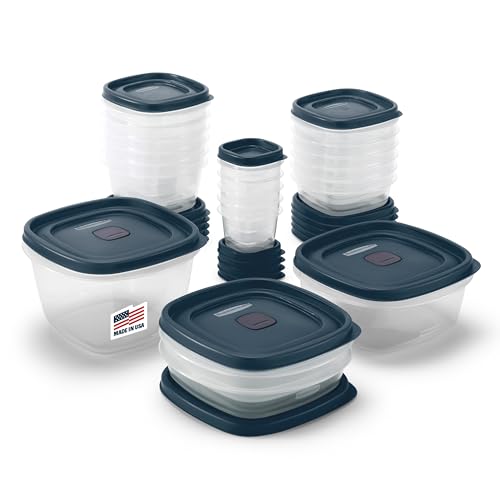
After decluttering and organizing what I had, I made one more life-changing decision: I upgraded to a matching set of food storage containers. Initially, I had a hodge-podge of different brands and shapes collected over the years. That meant dozens of different lid sizes (ugh). To simplify, I donated most of my old collection and invested in a single brand set that was designed for easy organization.
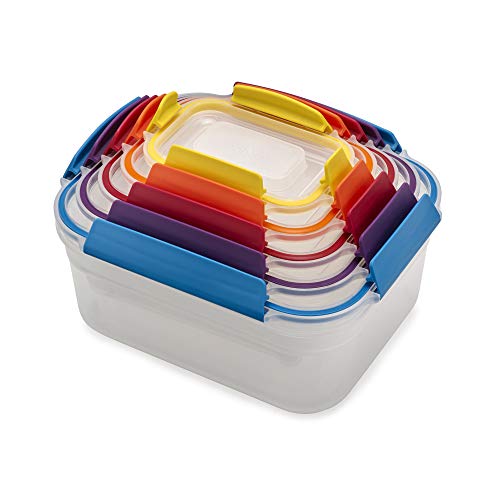
I chose the Rubbermaid EasyFindLids set (shout-out to my fellow moms who recommended it). The genius of this set is that the lids snap together and also snap onto the bottom of the containers. That means when you store them, you can clip the lids to their corresponding container bases or each other, so you never lose the right lid. Plus, the set uses only a few lid sizes that fit multiple bases. Suddenly, instead of 15 random lid sizes, I only had about 5 standard sizes to deal with – hallelujah! Rubbermaid is just one option; there are other great sets, too. I’ve heard good things about the Joseph Joseph Nesting Containers, which come with color-coded lids that stack in one bundle. The key is to pick one system and stick with it, rather than juggling ten different types of containers.
Switching to a uniform set might sound a bit extreme, but trust me, it was a game-changer for my sanity. No more “will this lid fit that container?” – if it’s the right size, it clicks right on. And everything stacks and nests perfectly because it’s all made to go together. If you’re tired of the mismatched container circus, consider treating yourself to a quality set. (You can always keep a couple of specialty pieces for odd-sized needs, but let your main workhorses be a matching set.) It’s an upfront investment, but in return, you get a streamlined Tupperware storage system that practically organizes itself.
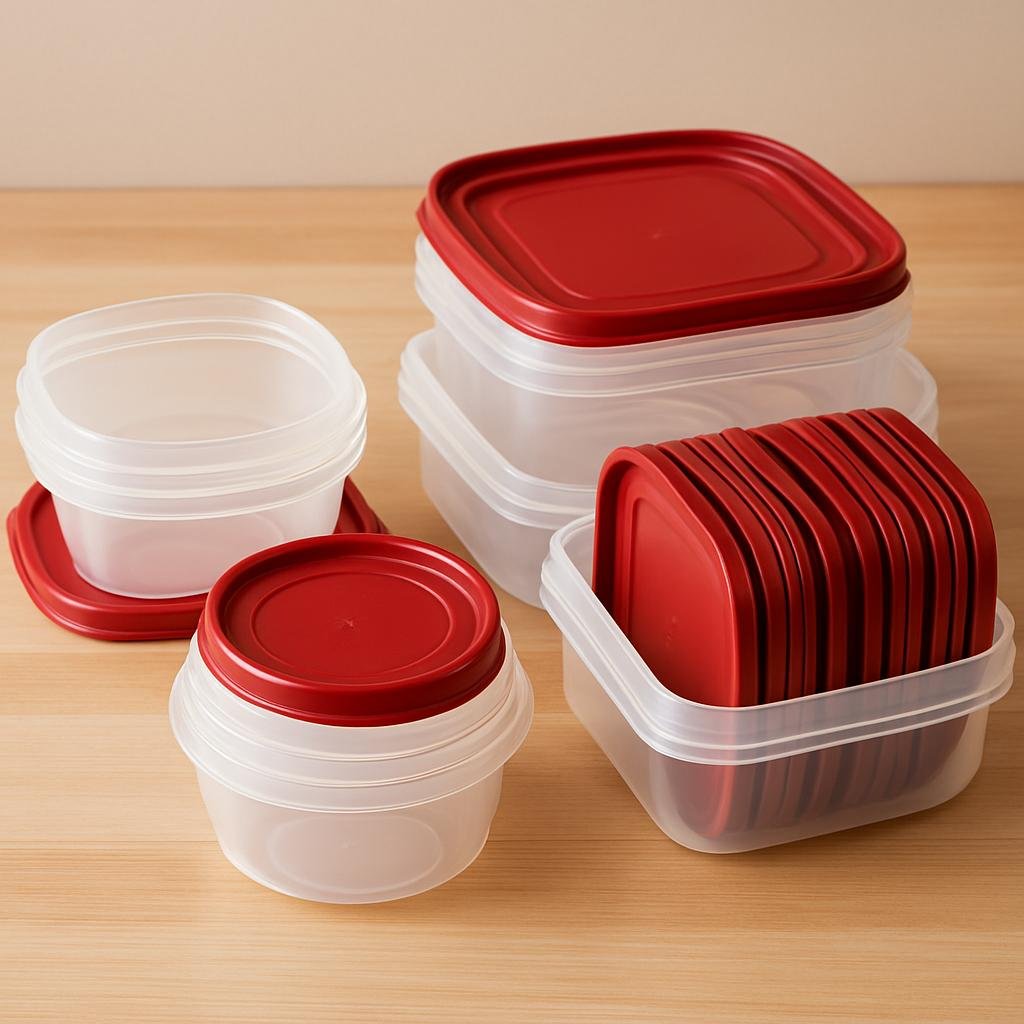
Pinterest Pin Description: A cohesive set of matching Tupperware containers with their lids, all in uniform sizes and shapes, neatly nested together to show how an organized container set looks
6. Designate a Cabinet or Drawer (and Use Clever Organizers)
Last but not least, give your now-organized Tupperware a proper home. Previously, my containers were scattered in any cabinet space I could find, which made it hard to keep things orderly. I reorganized my kitchen a bit to dedicate one cabinet solely to food storage containers. If you can spare it, a single cabinet or a deep drawer as the “Tupperware zone” will contain the chaos to one area. In my case, I repurposed a lower cabinet that was storing old baking pans (those went elsewhere). Concentrating all containers and lids in one spot helps me maintain the system – everything has to fit back into that space, which prevents me from accumulating too much again.
Depending on your kitchen layout, you have a few options here. I ended up installing a pull-out drawer tray in my cabinet, which essentially turned the cabinet into a deep drawer. This way I can slide it out and see all my containers and lids at once (no more forgotten lids lurking in back). If a drawer isn’t an option, consider using stackable shelf risers or tiered organizers in the cabinet. I’ve seen people use those two-tier metal shelf inserts to double the usable space in a tall cabinet – containers on the bottom, lids or smaller items on the top tier. Another idea: use the inside of the cabinet door for extra storage. I found a nifty adhesive pocket that sticks to the door and can hold a few lids or small containers – great for utilizing every inch of space.
The main point is to make your Tupperware organization ideas fit your space. Use vertical space, contain items with bins or racks, and keep it all in one designated zone. Now, when I open my Tupperware cabinet, nothing tumbles out. Everything is corralled, and even my kids know where to find (and return) their lunch container pieces. 🎉 It’s honestly such a relief to have this once-chaotic area under control.
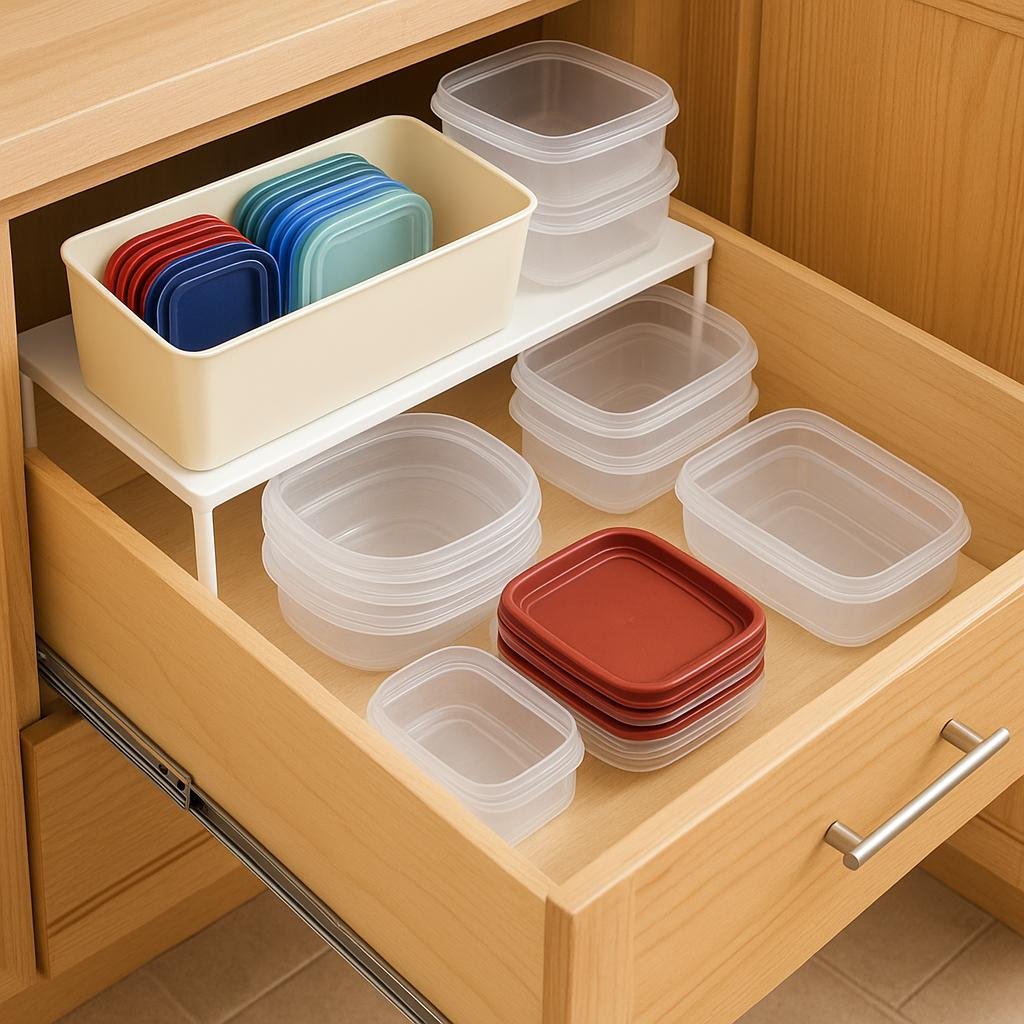
Pinterest Pin Description: An organized kitchen drawer dedicated to Tupperware storage, featuring a two-tier arrangement with neatly stacked containers below and a small shelf riser holding extra lids or containers above


FAQ: Tupperware Organizing Tips
Q: Should I store Tupperware with lids on or off?
A: I recommend storing containers with the lids off. It might seem convenient to keep each lid on its container, but that wastes a lot of space. When lids are off, you can nest containers inside each other and store all the lids separately (upright in a bin or organizer). The only time keeping lids on makes sense is if you have tons of extra space or you’re storing foods in the containers. Otherwise, store lids and containers apart – you’ll maximize space and still be able to find matches easily.
Q: What’s the best way to organize Tupperware lids so they don’t get lost?
A: The best way I’ve found is to file lids upright in a box, rack, or dedicated lid organizer. Sort them by size and stand them like files in a cabinet or drawer. This keeps every lid visible and easy to grab. You can use a cheap solution like a dish drying rack or buy a special Tupperware lid organizer with adjustable dividers. By giving lids their own section (instead of tossing them in a heap), you’ll never lose track of them – and no more lids avalanching out when you open the cabinet!
Q: How do I organize Tupperware in a small kitchen?
A: In a small kitchen, strategic use of space is key. First, pare down your collection to only what you need (fewer pieces = easier storage). Next, use vertical space: nest containers and stand lids upright. You might dedicate a deep drawer for your Tupperware – drawers are fantastic for small kitchens because you can pull out and see everything. If you only have a cabinet, add a stackable shelf or tiered rack to create an extra layer. You can even use the cabinet door (with adhesive hooks or a door-mounted organizer) for holding slim lids or cutting boards. Every inch counts in a small kitchen, so contain your containers (pun intended!) in one zone and use organizers to optimize the space. Trust me, even a tiny kitchen can handle Tupperware storage with these tricks.
Q: When should I throw out old Tupperware?
A: A good rule of thumb is to get rid of any containers that are damaged or no longer useful. If a container is warped, cracked, or has a missing lid (and no substitute fits), it’s time to toss or recycle it. Also, consider the age and material: older plastic containers (especially if they’re BPA-laden or super scratched) might be best retired for health reasons. I periodically do a quick audit of my Tupperware drawer – if I haven’t used a piece in over a year, or it’s looking worse for wear, I let it go. Keeping your collection fresh and functional means you’ll only store what you use, which makes staying organized much easier.
By implementing these steps, I turned my chaotic container cupboard into a streamlined, stress-free part of my kitchen. No more wasted time searching for lids or shuffling stacks of containers. It’s amazing how something as small as the Tupperware organization can make daily life run smoother – packing leftovers is now a quick grab-and-go task instead of a mini treasure hunt. I hope my experiences inspire you to tackle your own Tupperware stash. Remember, start with a good purge, use clever organizing tools (that lid file is my hero), and don’t be afraid to invest in a matching set if you can. You’ve got this! Happy organizing, and may you never suffer a falling Tupperware avalanche again. 🎉🥡
Lisa